How to Create Post in WordPress

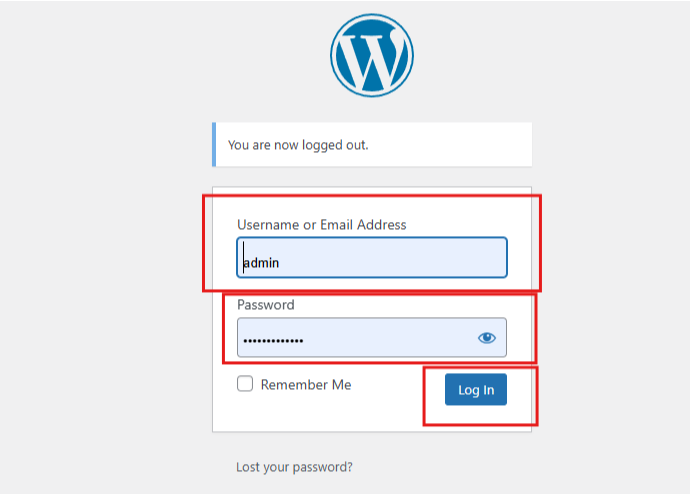
1. Log In to Your WordPress Dashboard:
Go to your website and log in with your admin credentials.
2. Navigate to Posts:
On the left-hand menu, click on “Posts.” You’ll see options like “All Posts,” “Add New,” and “Categories.”
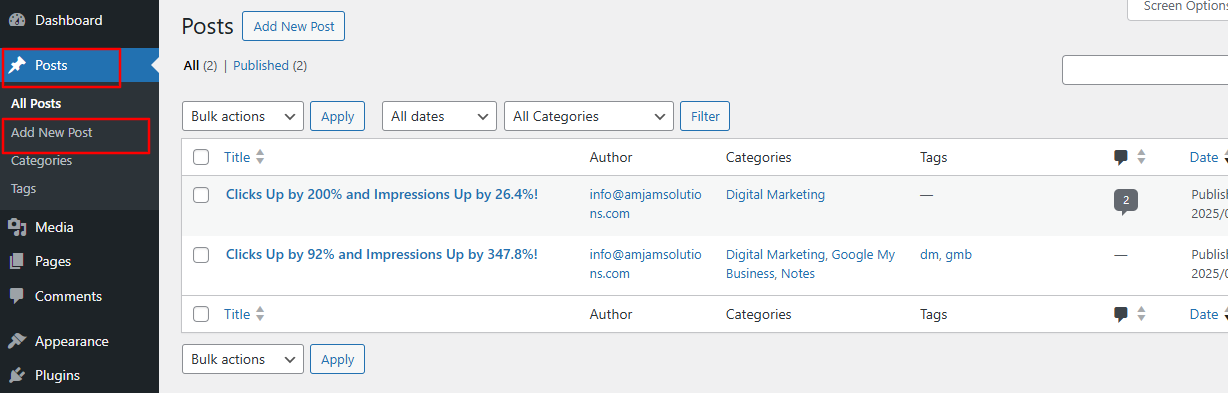
1. Add a New Post: Click on “Add New” to create a new post.
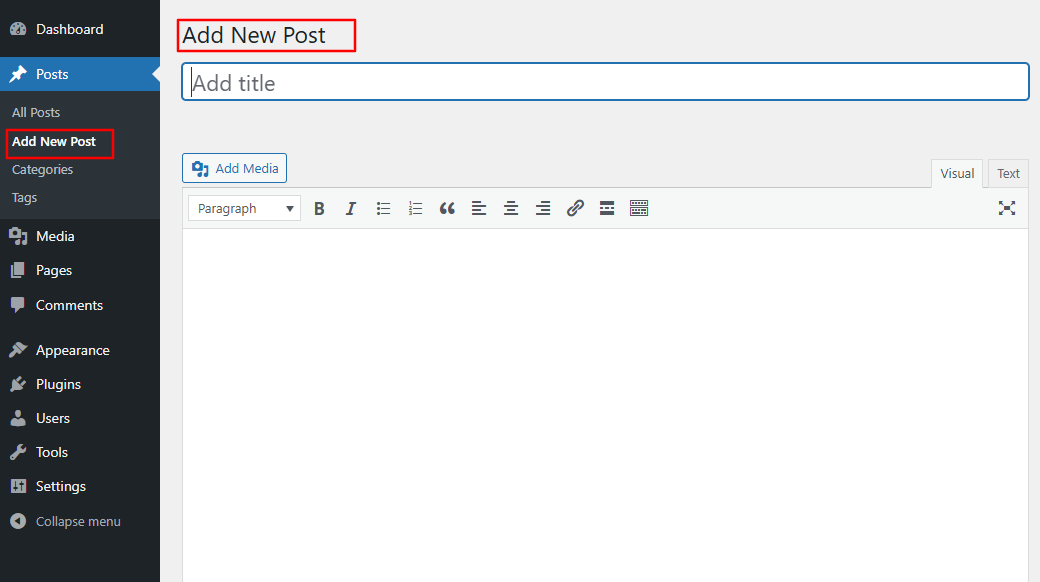
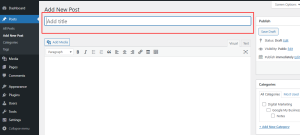
2. Enter Your Title: At the top of the page, you’ll see a field to enter your post title. Make it catchy and relevant to your content.
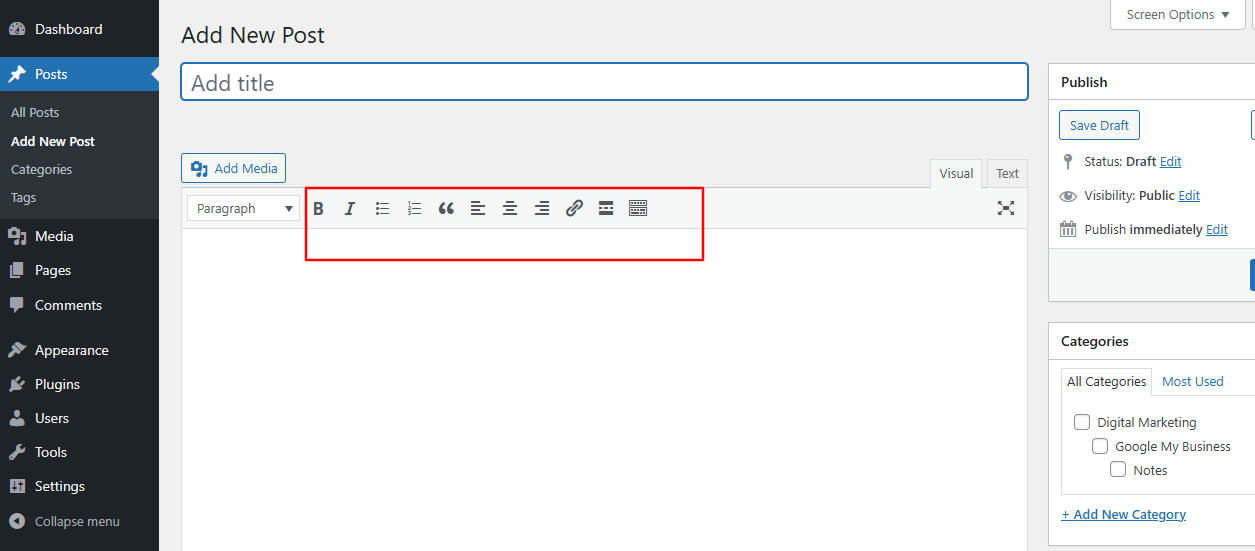
3. Write Your Content: Below the title, there’s a large text area where you can write your post. You can format your text using the toolbar (bold, italics, lists, etc.).
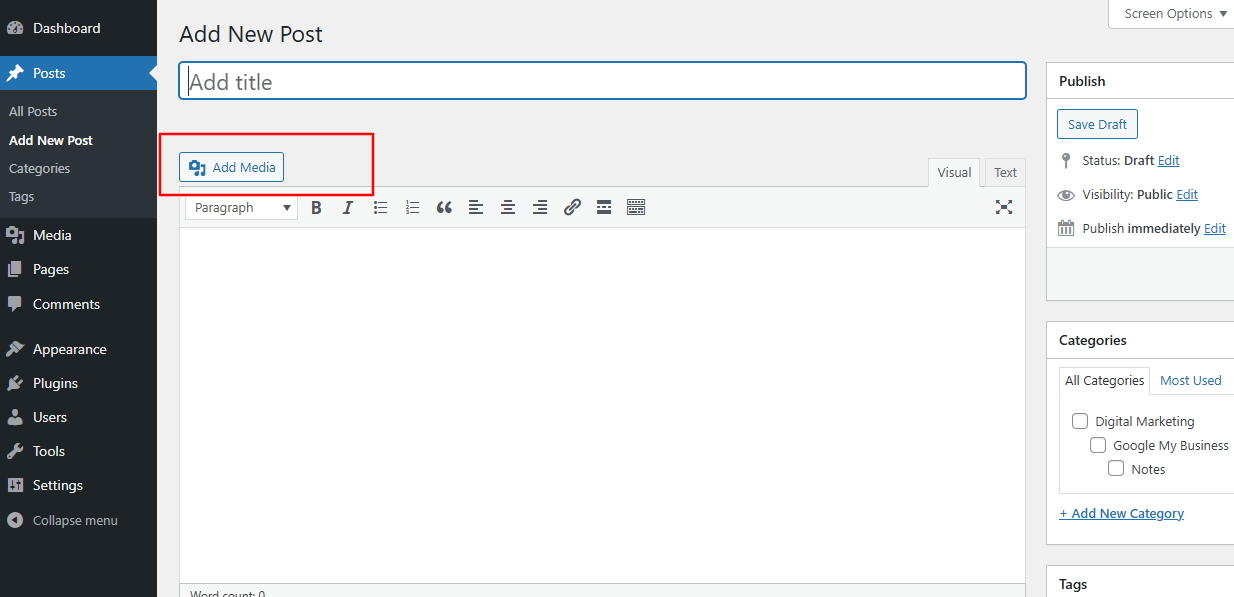
4. Add Media: If you want to include images or videos, click on the “Add Media” button above the text area. You can upload files from your computer or select from your media library.
 5.
5.
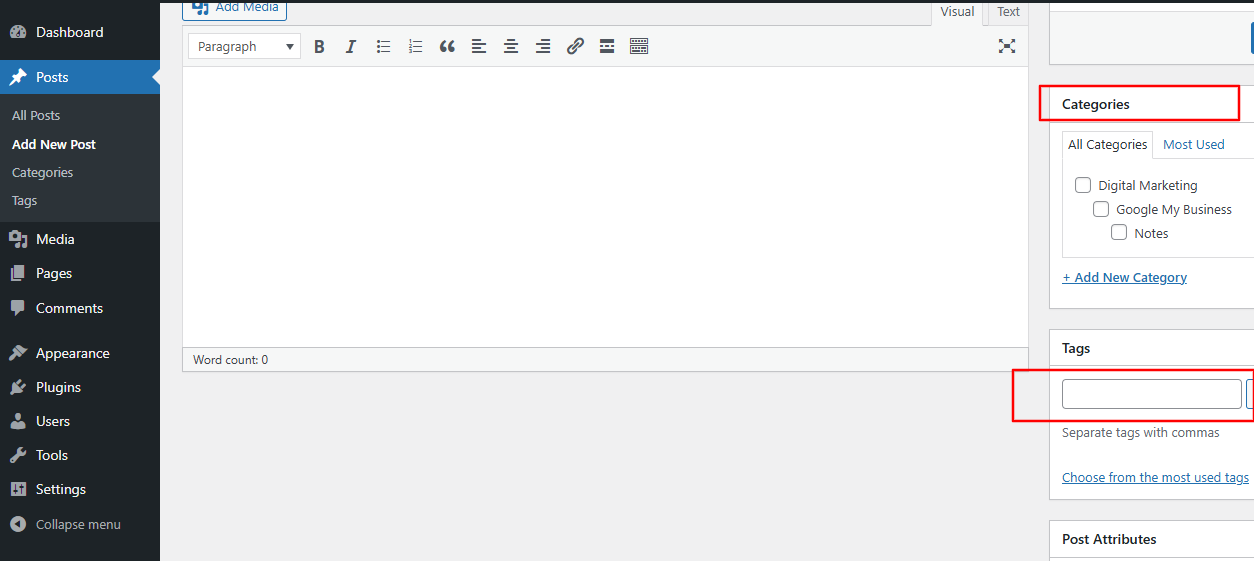
5. Set Categories and Tags: On the right side, you can assign categories and tags to your post to help organize your content.
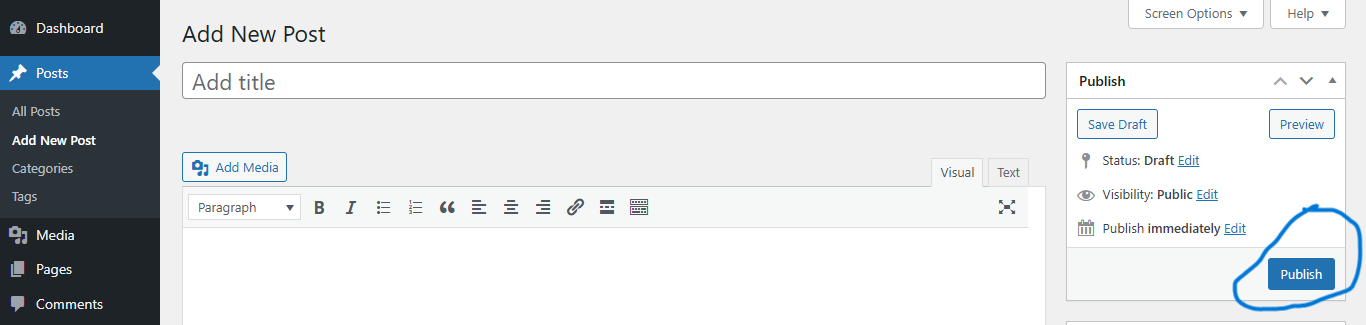
6. Preview Your Post: Click the “Preview” button to see how your post will look when published.
 7.
7.
7. Publish Your Post: When you’re ready, click the “Publish” button. You can also schedule it for a later date if you prefer.
8. Check Your Post: After publishing, you can view your post on your website to ensure everything looks good.