Step-by-Step Guide for One-Click WordPress Installation

Step 1: Choose a Hosting Provider
Select a web hosting provider that offers one-click WordPress installation. Popular options include Bluehost, Hostinger , SiteGround, and HostGator.
Step 2: Sign Up for a Hosting Plan
- Go to the hosting provider’s website.
- Choose a hosting plan that suits your needs and complete the sign-up process.
- Register a domain name if you don’t have one already.
Step 3: Access Your Hosting Control Panel
- Log in to your hosting account.
- Navigate to the control panel (often cPanel or a custom dashboard).

Step 4: Locate the One-Click Installer
- In the control panel, look for a section labeled Softaculous Apps Installer, WordPress Installer, or something similar.

Step 5: Start the Installation
1. Click on the Install Now button.

2. Fill in the required details:

3. Choose Protocol: Select `http://` or `https://` (if you have an SSL certificate).

4. Choose Domain: Select the domain where you want to install WordPress.

5. Site Name: Enter your website’s name.

6. Site Description: Enter a brief description of your site.

7. Admin Username: Choose a username for your WordPress admin account.

8. Admin Password: Set a strong password.

9. Admin Email: Enter your email address.

Step 6: Click on Install.

Step 7: Complete the Installation
-
Wait for the installation process to complete. This usually takes a few moments.

2. Wait for the installation process to complete. This usually takes a few moments.

3. Once finished, you will see a success message with your WordPress admin URL (e.g., www.yourdomain.com/wp-admin).

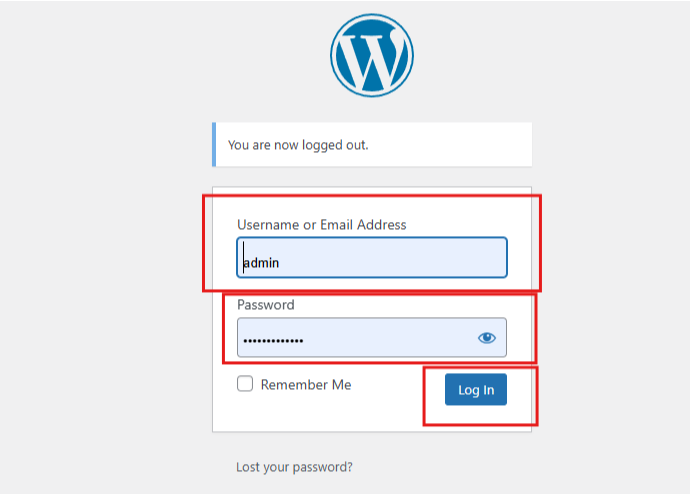
Step 8: Log In to Your WordPress Dashboard
1. Click on the admin URL provided.

2. Enter your admin username and password to log in.