How to Create a Blog in WordPress

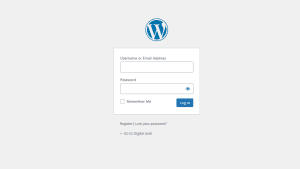
Step 1: Log in to Your WordPress Dashboard
-
Go to your WordPress login page by typing
/wp-adminat the end of your website’s URL (e.g.,https://yourwebsite.com/wp-admin). -
Enter your username/email and password, then click Log In.
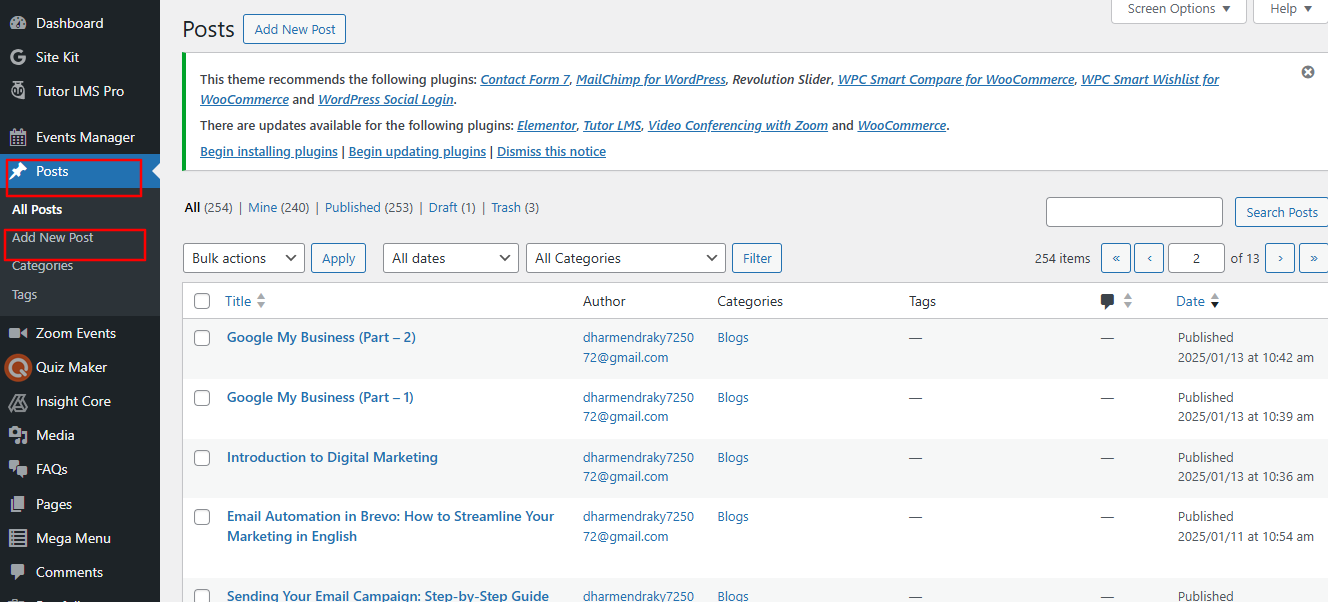
Step 2: Navigate to Posts
-
Once logged in, go to the Dashboard.
-
In the left-hand menu, hover over Posts and click on Add New.
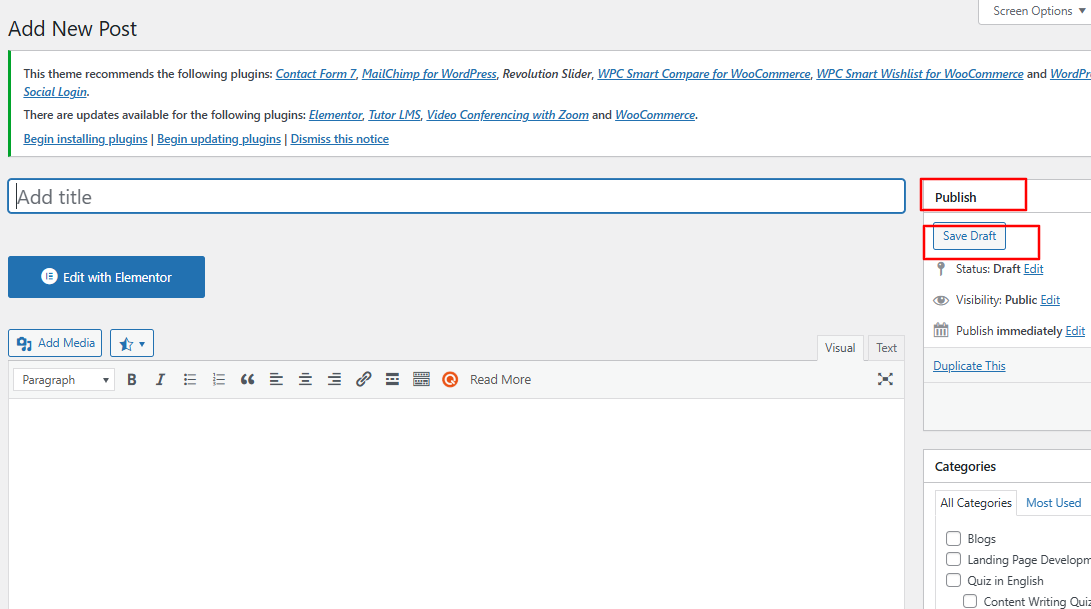
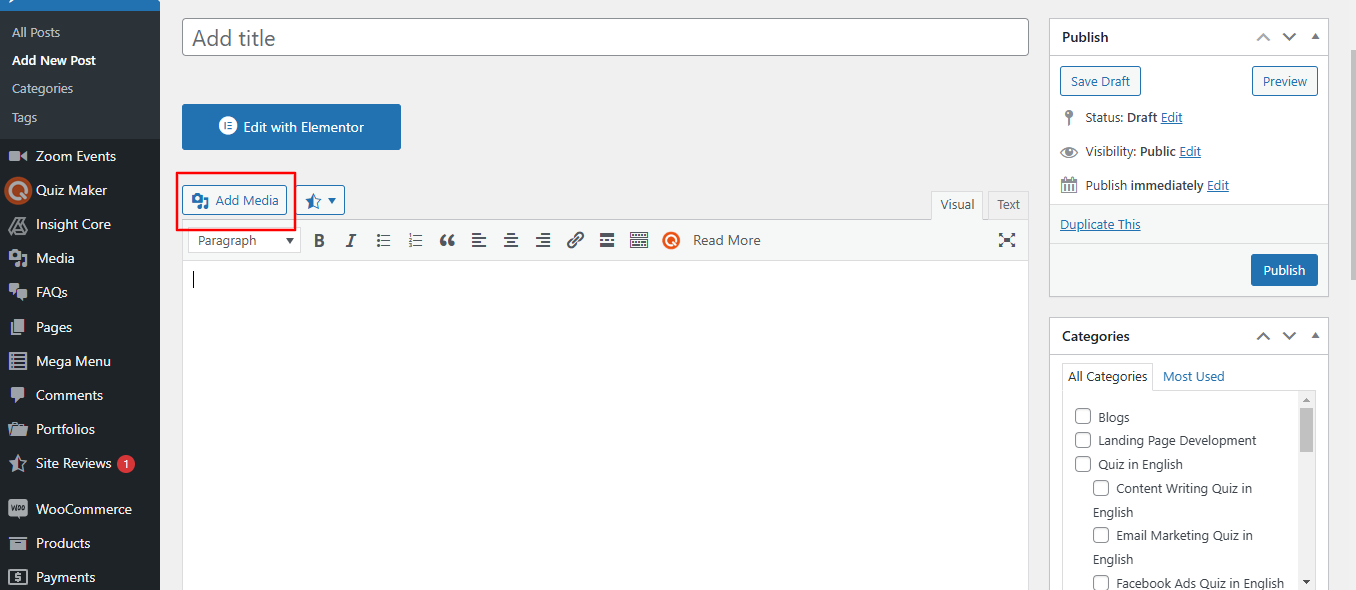
Step 3: Add a Title for Your Post
-
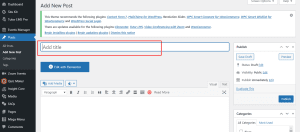
At the top of the page, you’ll see a field labeled “Add title.”
-
Enter the title of your post here.
Step 4: Write Content for Your Post
-
Below the title, you’ll see a block editor where you can start typing your content.
-
Each paragraph, image, or heading is a separate block.
-
Use the + button to add new blocks for text, images, lists, or other content types.

Step 5: Add Images to Your Post
-
To add an image:
-
Click the + button and select Image.
-
Upload an image from your computer, choose one from the media library, or insert an image via URL.
-
Once added, you can resize the image, add captions, and align it as needed.
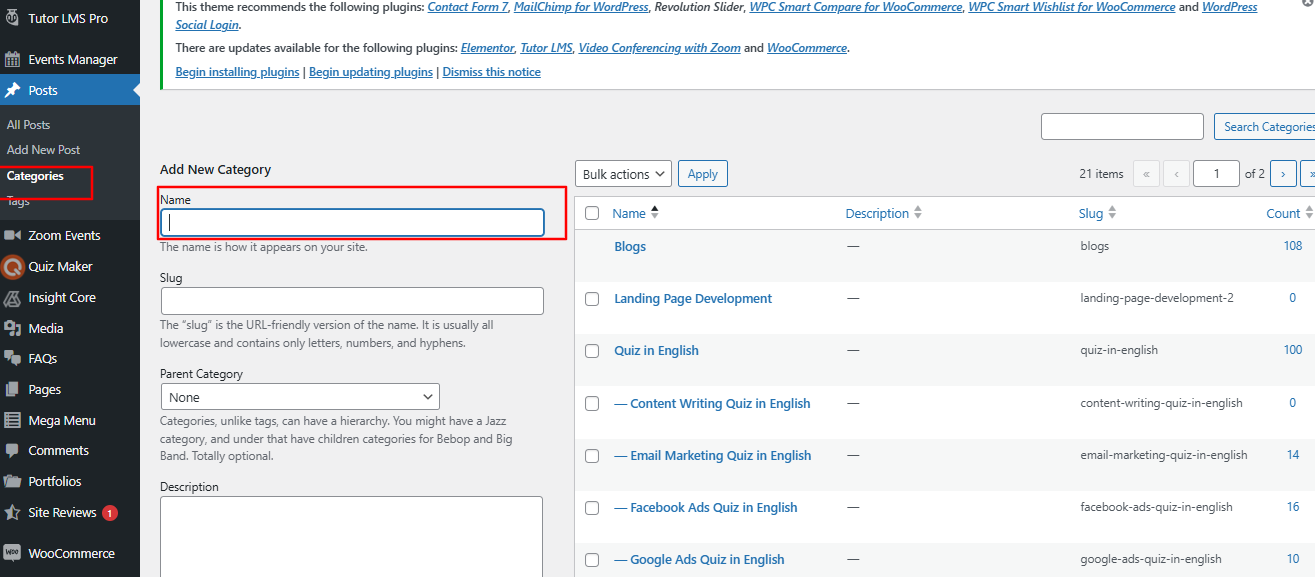
Step 6: Assign Categories and Tags
-
In the right-hand sidebar, locate the Categories section.
-
Click “Add New Category” or select an existing category.
-
Below categories, you’ll find the Tags section.
-
Add relevant tags to help organize your post.
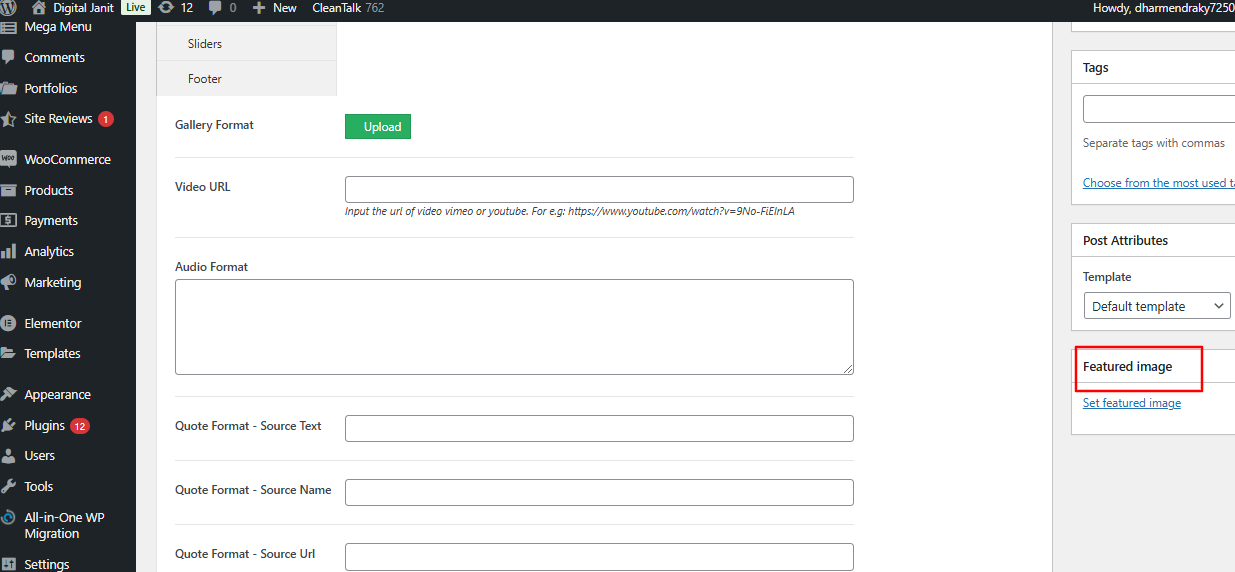
Step 7: Set a Featured Image
-
Scroll down to the Featured Image section in the right-hand sidebar.
-
Click Set featured image and choose an image from your media library or upload a new one.
Step 8: Publish Your Post
-
Once you’re satisfied with your post, click the Publish button.
-
Confirm the action in the dialog box by clicking Publish again.